My Store
AC CABIN FILTER SWIFT (2022-ONWARDS)
AC CABIN FILTER SWIFT (2022-ONWARDS)
Couldn't load pickup availability
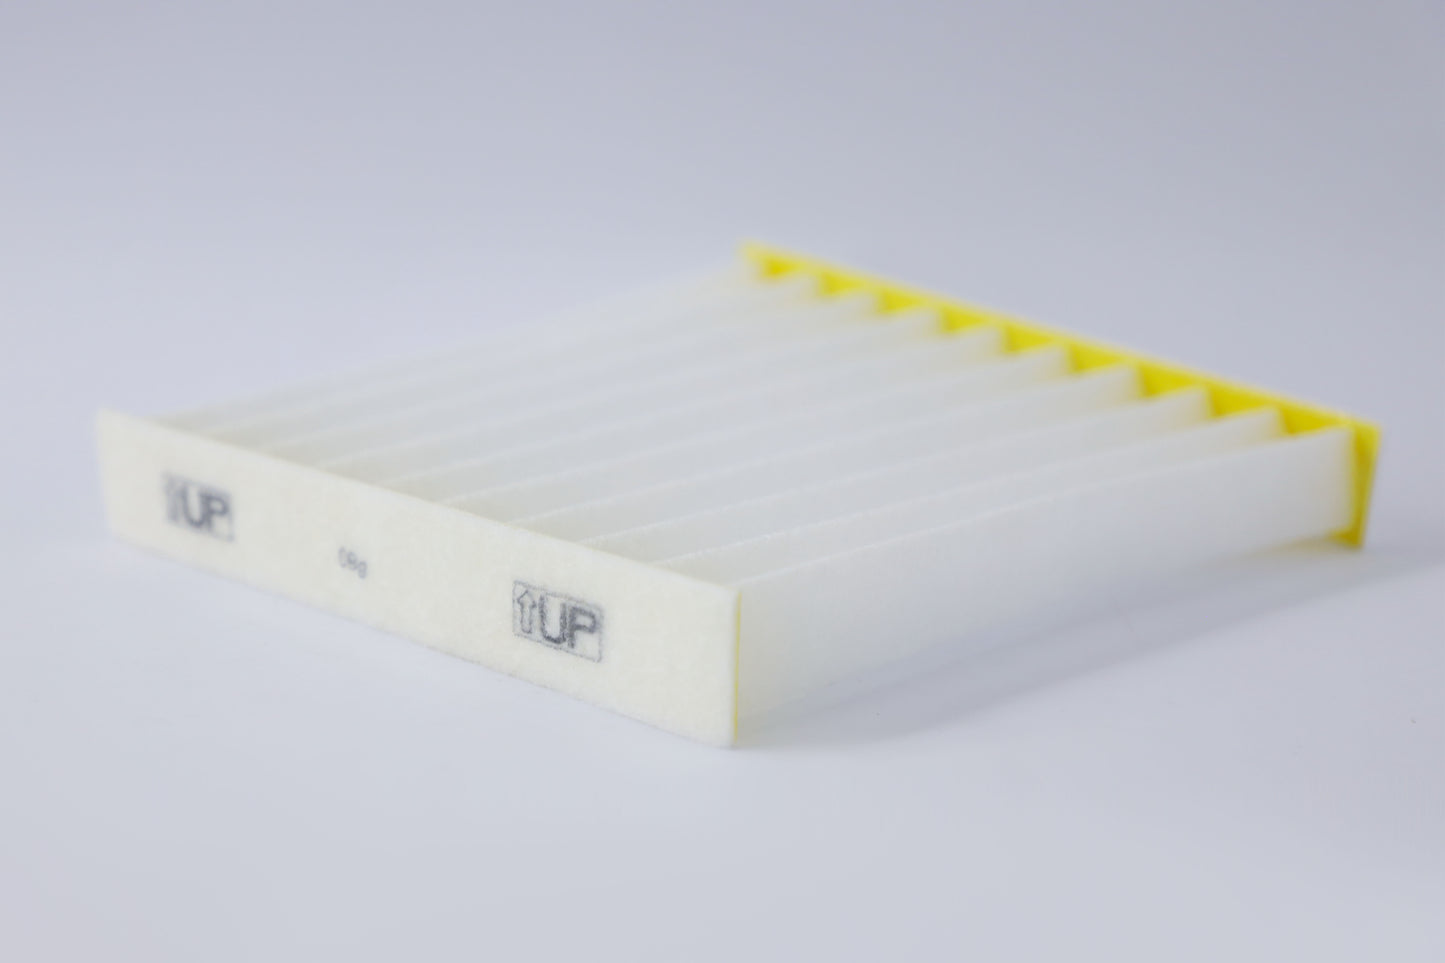
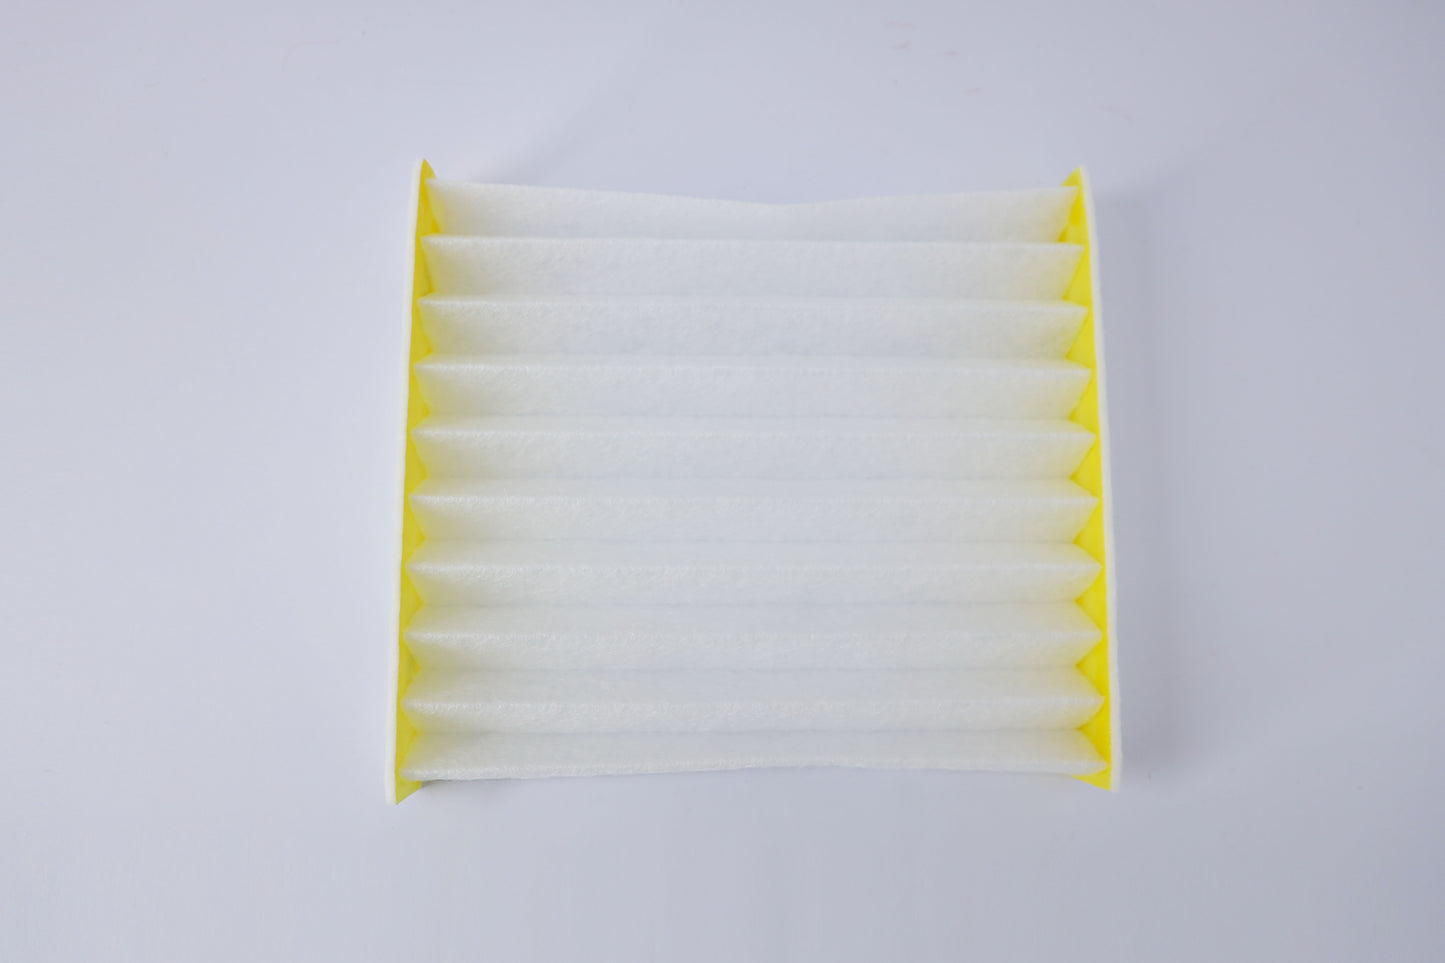
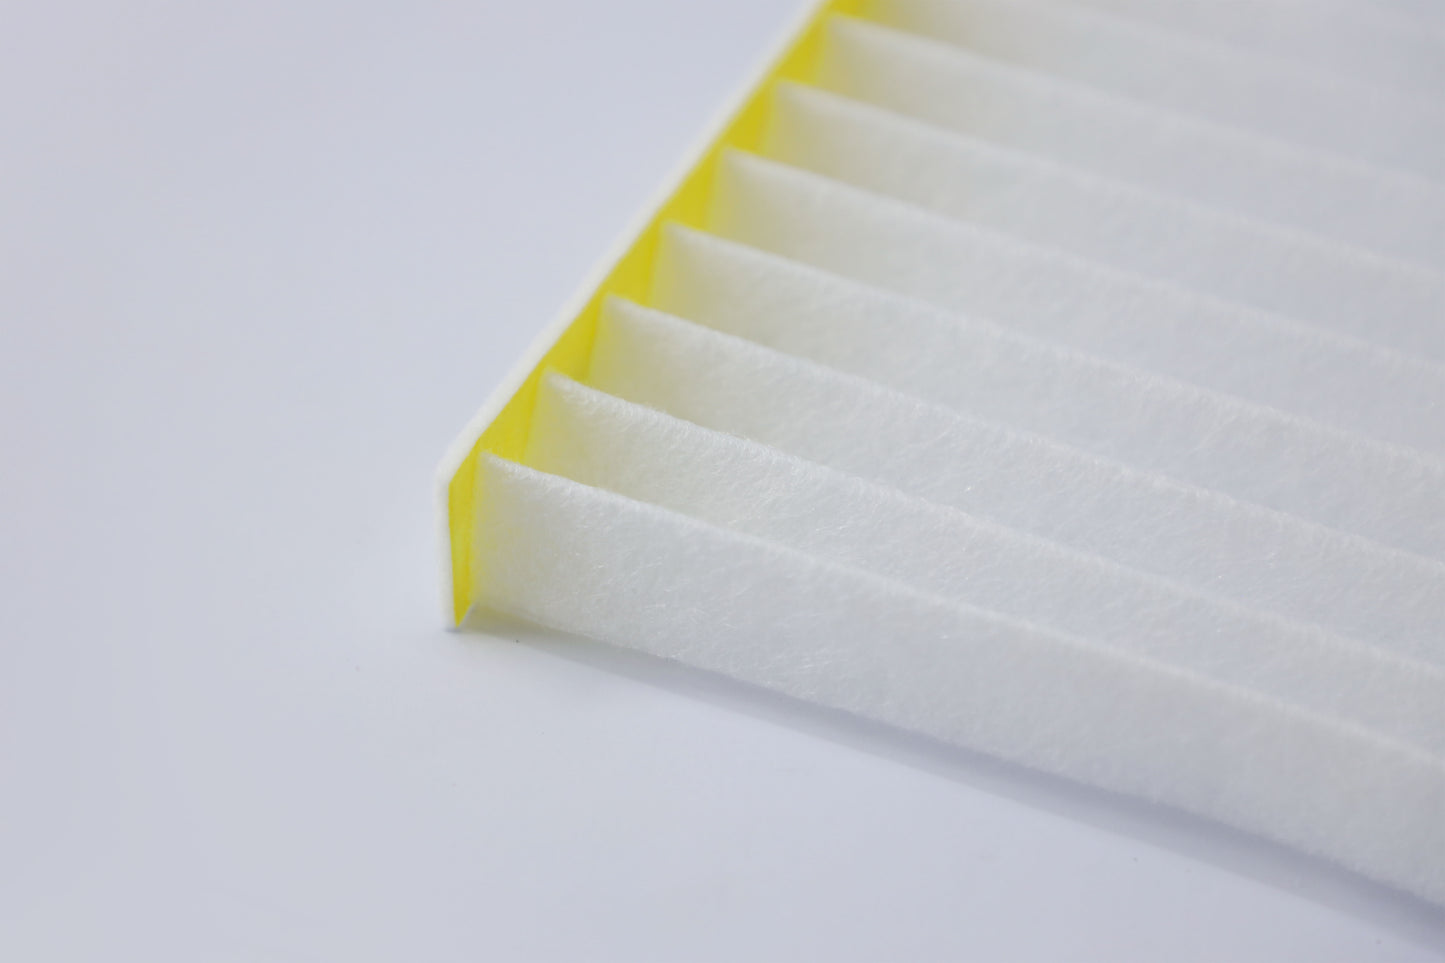
The AC cabin filter for the Suzuki Swift serves a similar purpose as other cabin air filters: to filter and purify the air entering the cabin through the air conditioning and ventilation system. It traps dust, dirt, pollen, smoke, and other airborne contaminants, ensuring that the air you breathe inside the car is clean and fresh.
Here’s a detailed description of the cabin filter for the Suzuki Swift:
Function and Purpose:
- Air Purification: The cabin filter keeps the air entering the cabin free from dust, pollen, pollutants, and other airborne particles, improving the air quality inside the vehicle. This is especially important for passengers with allergies or respiratory issues.
- Odor Removal: Some cabin filters (especially carbon filters) contain activated carbon that helps absorb unpleasant odors from the outside, such as smoke, exhaust fumes, and other pollutants.
- HVAC System Protection: It prevents debris from entering the HVAC system, protecting the system’s internal components from becoming clogged or damaged, which can lead to poor performance and potential system failure.
Types of Cabin Filters for Swift:
-
Paper Filters: The standard option for many vehicles, including the Swift. These are primarily designed to block larger particles such as dust, dirt, and debris. However, they don’t necessarily have any odor-absorbing capabilities.
-
Activated Carbon Filters: This type of filter not only traps dust and dirt but also absorbs odors, smoke, and harmful gases. Activated carbon filters are especially useful if you live in an area with high pollution or frequently drive in congested traffic.
Location of the Cabin Filter:
In the Suzuki Swift, the cabin air filter is usually located behind the glove compartment or under the dashboard. Depending on the model and year, accessing it may require removing the glove compartment or other interior panels.
Signs that the Cabin Filter Needs Replacement:
-
Reduced Airflow: If you notice that the air coming from the vents is weaker than usual, it could be a sign that the cabin filter is clogged and needs to be replaced.
-
Unpleasant Odors: Musty or foul smells, particularly when using the air conditioning, are common signs of a dirty filter.
-
Allergy Symptoms: Increased sneezing or irritation in the eyes and nose during or after driving may indicate that the filter is no longer trapping allergens like pollen effectively.
-
Fogging of Windows: A clogged filter can sometimes affect the overall efficiency of the air conditioning system, leading to window fogging that is difficult to clear.
Recommended Replacement Interval:
- Every 5,000 to 10,000 kilometers (approximately once a year) is generally recommended for replacing the cabin filter, though this can vary based on your driving conditions. If you drive frequently in dusty areas, areas with high traffic pollution, or in regions with a lot of pollen, you may need to replace the filter more often.
Benefits of Regular Replacement:
- Improved Air Quality: Keeping the filter clean helps ensure that you’re breathing fresh air inside the vehicle.
- Better HVAC Efficiency: A clean filter ensures optimal airflow, which improves the performance of the air conditioning and heating system.
- Odor Control: Regular replacement helps prevent the buildup of mold and bacteria inside the filter, reducing bad odors inside the cabin.
- Cost-Effective: Replacing the filter at the recommended intervals prevents the buildup of debris that could lead to more expensive repairs for the HVAC system.
How to Replace the Cabin Filter:
-
Locate the Filter: The filter is generally behind the glove compartment. In some models, you might need to remove the glove box or a panel underneath the dashboard to gain access.
-
Remove the Old Filter: Once you access the filter compartment, remove the old filter carefully. Pay attention to the filter's orientation and the direction of airflow (usually indicated by an arrow on the filter).
-
Install the New Filter: Place the new filter in the compartment in the correct orientation. Be sure it fits snugly without any gaps to ensure it works effectively.
-
Reassemble the Compartment: After replacing the filter, reassemble any parts or panels that you removed during the process.
-
Check for Proper Function: Turn on the AC system to check if airflow has returned to normal and if the air quality seems improved.
Conclusion:
The cabin filter for the Suzuki Swift is a crucial component for maintaining air quality inside the vehicle and protecting the HVAC system from potential damage. Regularly replacing it ensures that you and your passengers are breathing clean air while driving and helps maintain the performance of the air conditioning system.
Share


